EVERYTHING IS IN PROPER WORKING ORDER!!!!!! THIS STUFF ALL WORKS
THIS EQUIPMENT IS INTENDED TO STAY SET UP IN THE STUDIO,THEY ARE NOT THE PORTABLE TYPE OF PHOTOGRAPHY LIGHTING YOU TAKE TO A SHOOT. THESE LIGHTS AND POWER SUPPLIES AND SCISSOR LIFTS AND HARDWARE ARE USA MADE !! DOWN TO THE NUTS AND BOLTS
THIS IS A PHOTOGRAPHERS STUDIO STARTER DREAM KIT!!!!! PHOTOGENIC IS A NAME IN QUALITY LIGHTING GEAR .
5 AD70-08 Eight foot ceiling rail
5 AD31 Scissor light lift
2 AD10SC Speed light
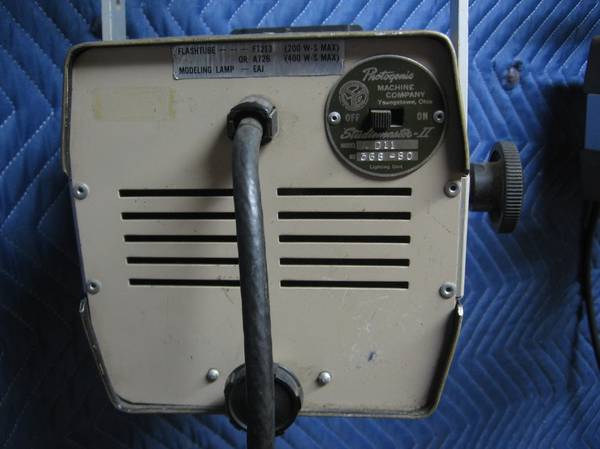
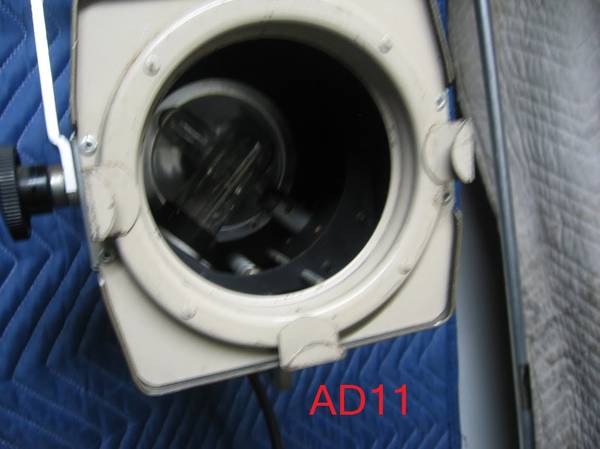
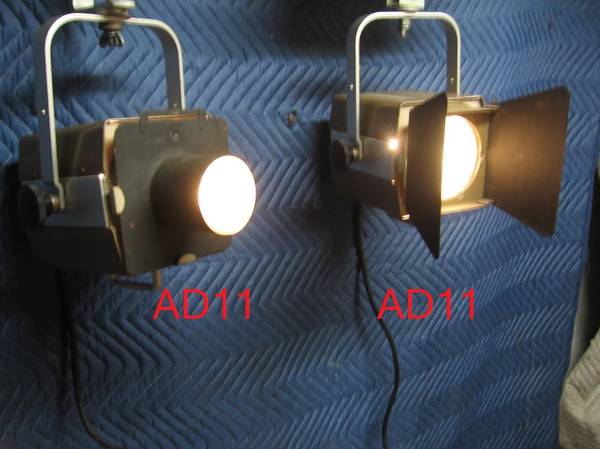
2 AD11 Studiomaster II light unit
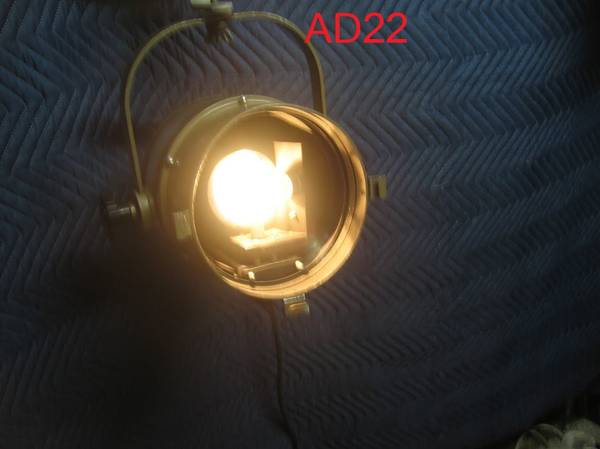
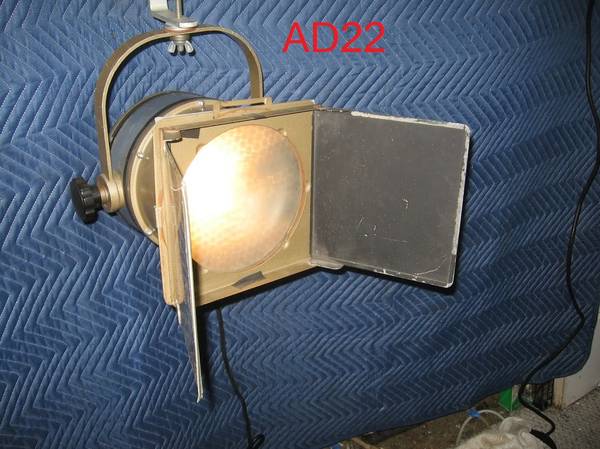
1 AD22 Speed light
5 AE02D Studiomaster II Electronic flash Power supply
Included power cables,light cables, AD80 Cable carriers, AD78 Double rail carriers for all equipment
barn doors and snoots
Master Rail Suspension System
What exactly is a Master Rail Suspension System?
It's a way to give you greater control over light placement, and do it more easily. Two or three aluminum rails are fixed to the ceiling and they run the length of your studio. Connecting these rails are traverse rails. Each traverse rail holds one light mounted to a light lift. The traverse rails slide back and forth and adjust diagonally, and the light lift slides along the traverse rail, suspending up or down.
What does it do?
It gives you virtually total three-dimensional freedom to move the lights
It means more time spent shooting and selling instead of arranging lights
It creates a safer shooting environment and a neater-looking studio
Here's How to Design Your Own System
The Master Rail ® System is designed to be used in studios with a minimum clear ceiling height of 10 feet.
Step 1. Decide the length and width of the area you wish to cover. You can cover your entire studio or just a portion of it. Maximum possible coverage is one foot less than the actual studio length and width.
Step 2. Choose The Fixed Rails: Master Rail ® comes in standard lengths. Choose a length that will adequately cover the effective length of your studio. It is suggested that this length extend from the background wall to a point behind the camera when used at its furthest point back. Two (in some cases three) fixed rails are necessary for each installation. On one end the fixed rails must be at least one foot from the wall to allow for installing and removing traverse rails.
Step 3. Choose The Rail Supports: Ordinarily, use three supports to hang each fixed rail.
Step 4. Choose the Traverse Rails: One rail is needed for each light suspended. The background lighting unit can remain on the floor, but if photographing children against scenic backgrounds, the background light should be suspended.
Step 5. Choose the Light Lifts: Light lifts are available in various capacities, terminating at the bottom in a 3/8-16 threaded hole. Select the light lift with a capacity greater than the weight of your lighting unit. To achieve a floating suspension, weight may be added to the lighting unit if used with the AD54 weight adapter.